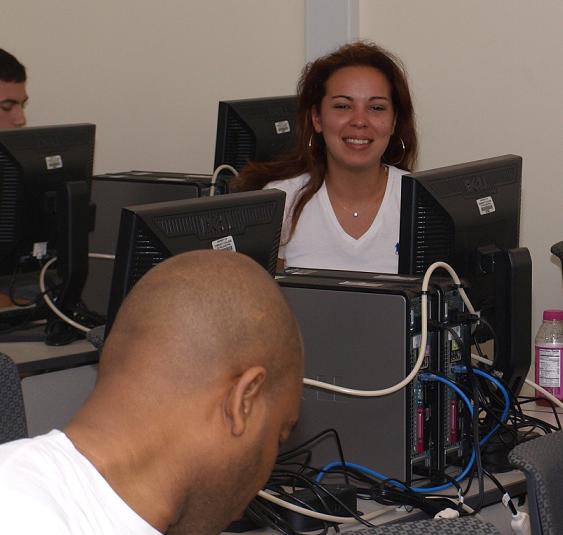
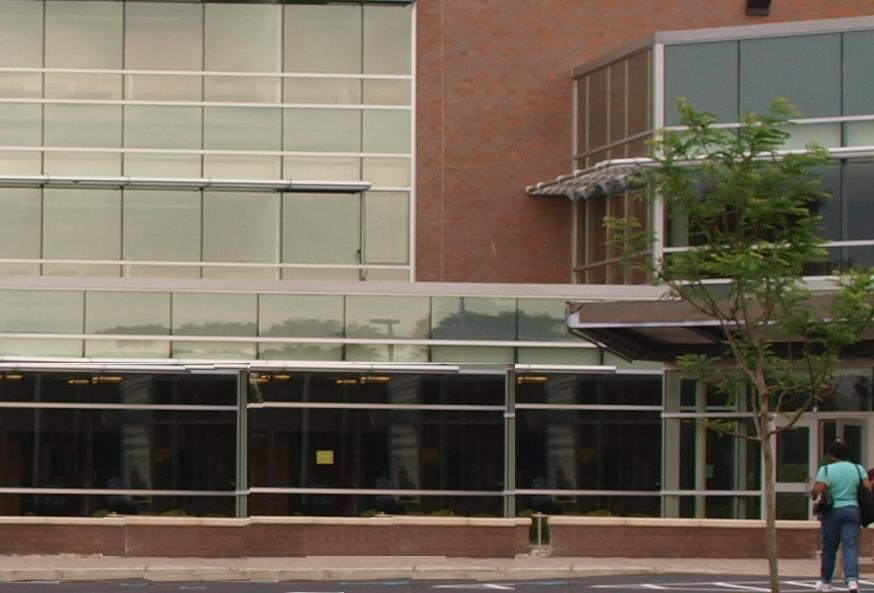
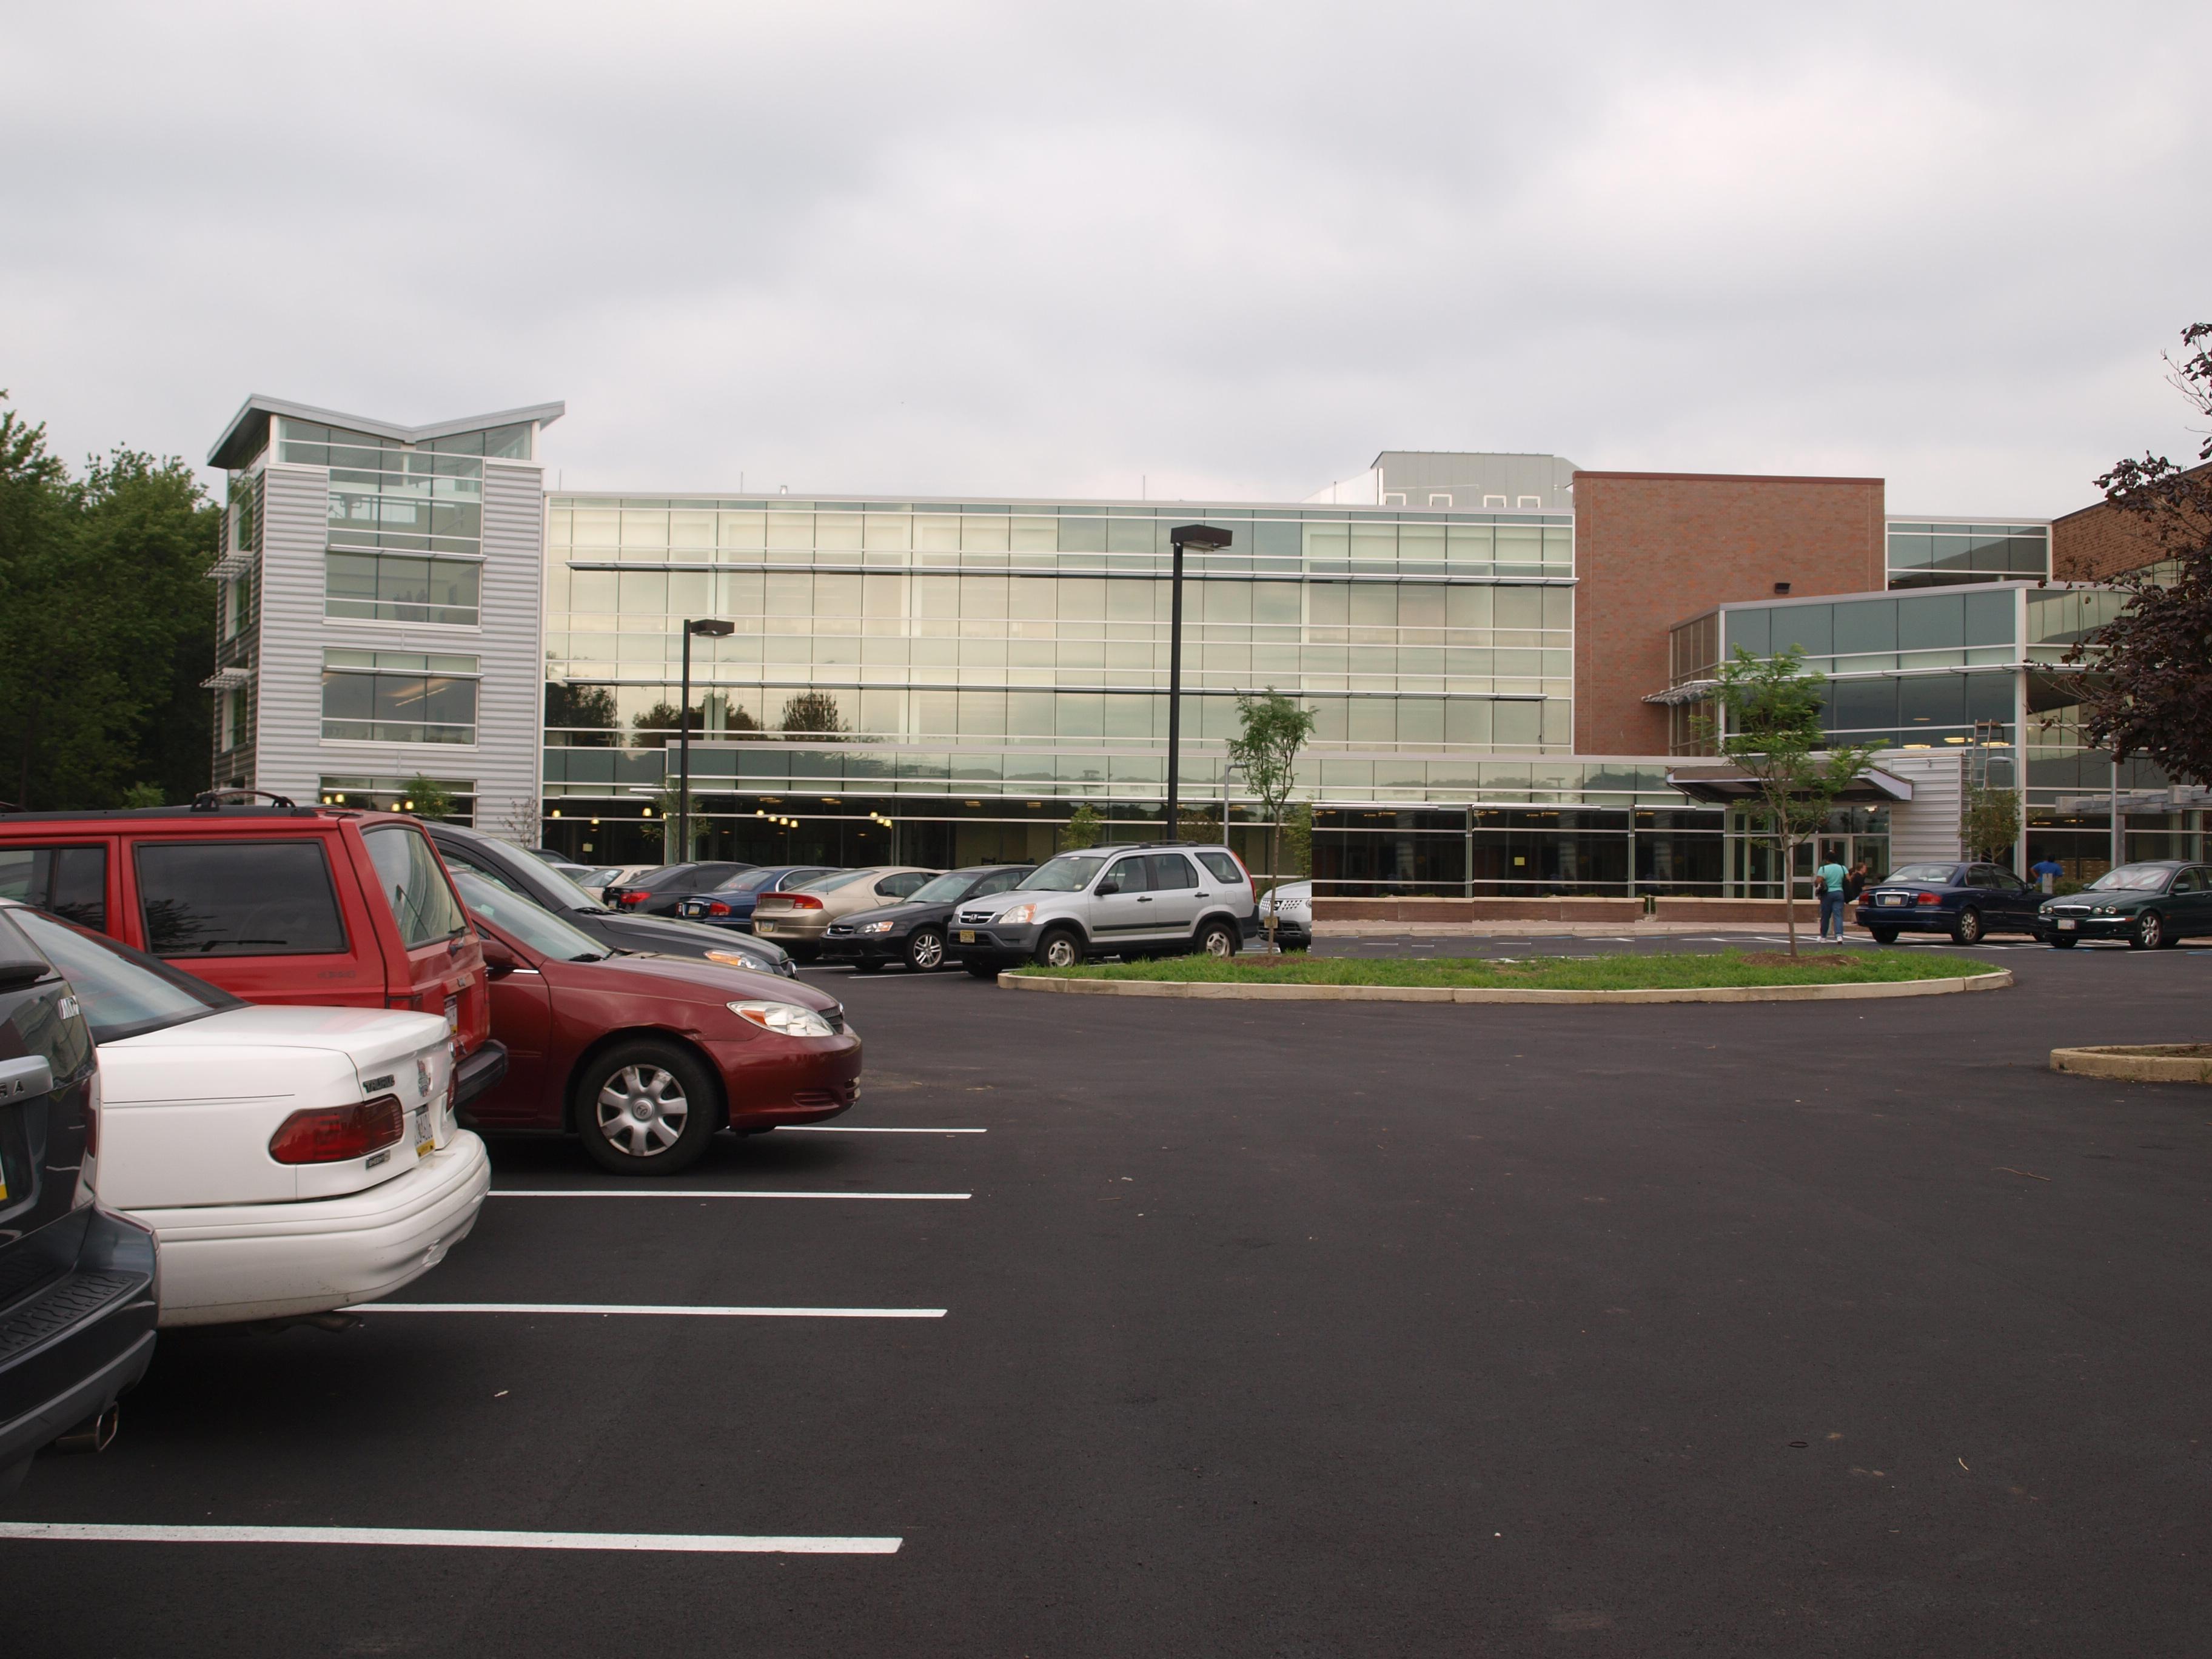
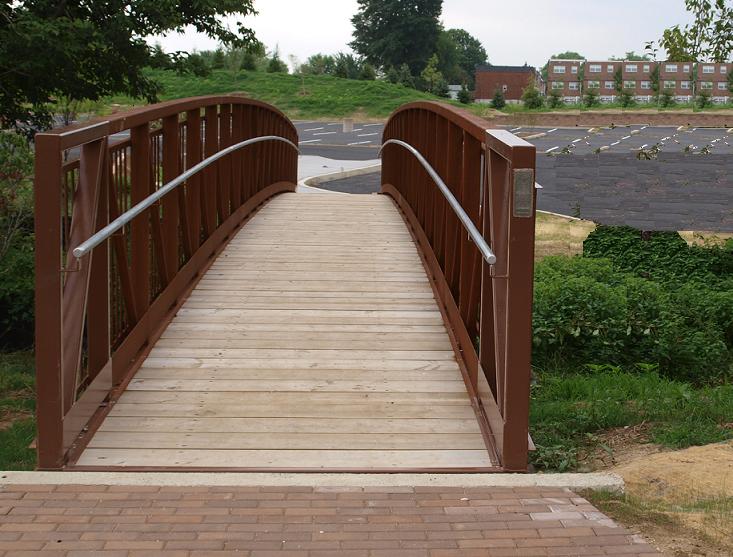
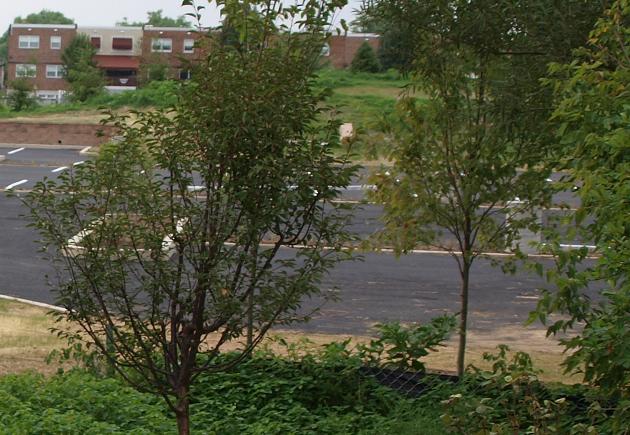
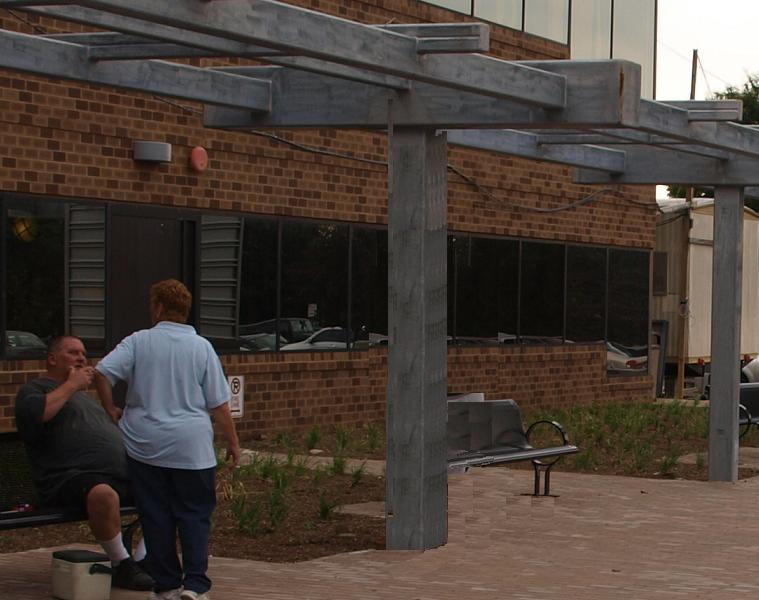
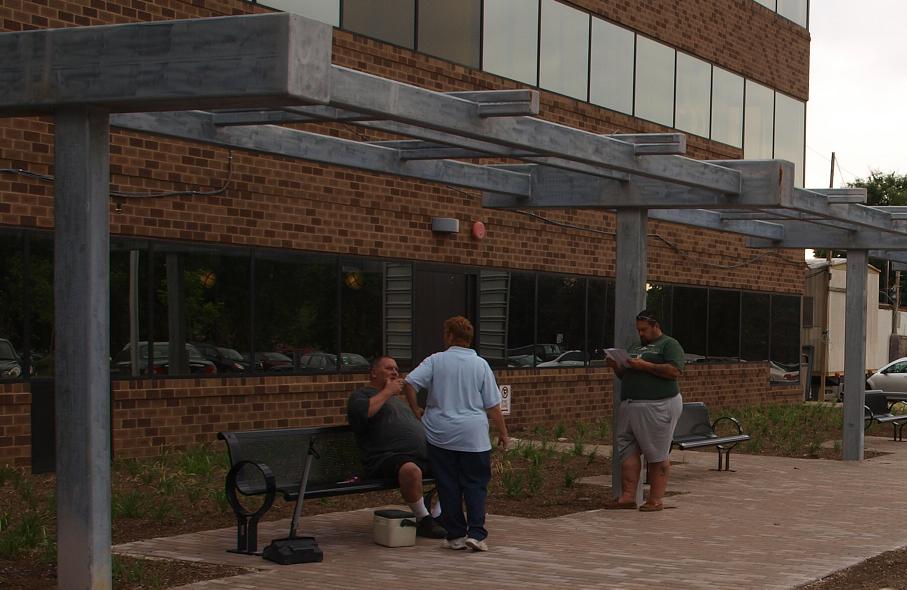
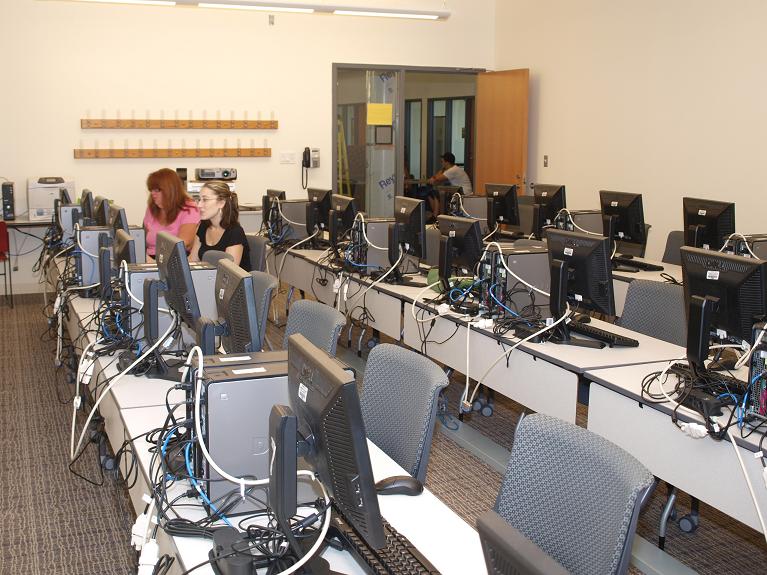
In class, Maria Diaz asked about photos and so I brought in my camera and snapped some shots of our new center at Northeast regional. Hopefully, you feel like I do and appreciate the new features and space that this construction will provide. You also saw me take some pictures of our class and the one featuring Maria has been cropped and is at the left. I hope you like it, Maria!
You also saw me put these pictures into the computer on the smart cart and create a small HTML file. At home, I have done the same but this file is much bigger. You will see the 24 shots I took in 4 ways inclusing a carousal at the bottom. In many cases, the shots taken are not quite what I needed and multiple shots (the majority) have been cropped and 6 shots have been altered, including Maria's to the left. In some cases these have been serious alterations. I will show you the altered shots but keep in mind, you cannot trust pictures anymore. If someone with my limited artistic talent can do this, think of what a professional artist and/or photographer can do!
Below, on the left is the shot used. On the right is the shot taken.
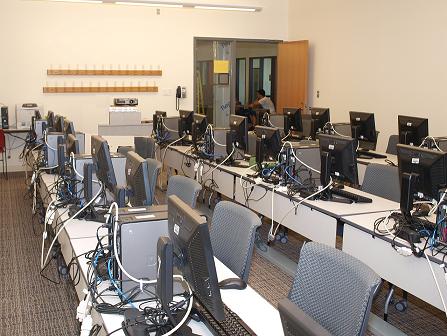
Let's start out with the 24 edited and cropped pictures taken at Community College Of Philadelphia's Northeast campus on July 28th, 2010 by your instructor, Marc Rauer. Let's first show the pictures as a 4 by 6 matrix, setting each picture to a width 25% of the screen. There are several ways to do this but your instructor will use Javascript to fake HTML and CSS code for tables that intermix HTML and CSS. Below, you can see the javascript code that is embedded in the body tag and activated automatically with an onload='doit()'
function doit()
        {
        var tt = ""
        for (var r=0;r<=5;r++)
            {
            tt += "<p id='v" + r.toString() + "'>"
            for (var r1=0;r1<=3;r1++)
                {
                var ttx = "nerc/nerc" + (r*4 + r1).toString() + ".jpg";
                tt += "<img style='width:24%;height:auto' src='" + ttx + "'>"
                }
            tt += "<\p>"
            }
        var zz = document.getElementById("x1");
        zz.innerHTML = tt
        }
Below you will see two displays. The first is how this is interpreted by your browser: Notice the HTML commands. The second is the picture display
You can see where the cropping has occurred as pictures are not squared out. We can resolve this with additional code. What this additional code will do is increase or decrease the width of each picture so that the entire row is flush top. Now, this is more extreme javascript code and takes into consideration that your instructor is bundling each row of 4 pictures within a paragraph command.
This seems to have worked quite well. The coding for setting pictures like this is as follows. Remember, in this case your instructor has an edge, given that he knows the amount of rows therefore allowing him to run a for loop from p0 to p5 which encompasses the paragraph statements that book end these images.
function testit()
       {

       for (var rx=0;rx<=5;rx++)
            {
            alert (rx);
            var y1 = document.getElementById('p' + rx.toString())
            var r1 = y1.childNodes.length -1;
            var holdaspect = [];
            var holdaspect2 = [];
            var holdwidth = []
            var maxheight = 0;
            var maxwidth = 0;
            var holdlength = [];
            for  (var r=0;r<=r1;r++)
                {
                var r2 = y1.childNodes.item(r);
                holdwidth[r] = r2.clientWidth;
                holdlength[r] = r2.clientHeight
                holdaspect[r] = holdwidth[r]/holdlength[r];
                maxheight = Math.max(maxheight,holdlength[r]);
                }
            for (var r = 0;r<=r1;r++){maxwidth += maxheight * holdaspect[r];}
            var ratio = (screen.availWidth-60)/maxwidth;
            for (var r = 0; r<=r1;r++)
                {
                var r2=y1.childNodes.item(r);
                //r2.setAttribute("width",(holdaspect[r] * maxheight * ratio).toString() + "px");
                r2.style.width = (holdaspect[r] * maxheight * ratio).toString() + "px"
                //r2.setAttribute("height",(maxheight * ratio).toString() + "px");
                r2.style.height = (maxheight * ratio).toString() + "px";
                }
            }
        }
What about text. Text is manipulatable as opposed to pictures. You could default to a generic discussion of all four pictures below each row. The next display tries to do this.
Here's the code to do this. This is generated by a version of the loop of code indicated above. Additions include the inclusion of padding to the right of each picture and the use of style notation for height and width. Style is a CSS derivative and replaces several options in HTML. If you use the style option, you are best not to intermingle other HTML coding with what can be done with the style option. This is one of the major problems with IE7 in its inability to recognize non CSS commands when other CSS commands are being used. Originally, when I did this we used the HTML attributes height and width and you may remember the problems we had with IE7. Switching to pure CSS code the utilizes style="height:xxx;width:xxx" resolved this problem and in using this you can see the CSS default of auto in action when applied to height. Understand, the coding here is very complicated and your instrcutor has an edge to this as he was for many years a professional programmer so it is easier for him to generate this coding through programming logic.
Okay, one more twist of this. What if you were to provide separate captions for each picture. A major problem would be set the width for each caption in accordance to the width created for each picture in a line. Internal to the program is an array of 24 elements, each element the text caption to a picture. In doing each row of pictures, I will record the width of each picture on that row and apply it to a table set below the row of pictures c ontaining the appropriate text. This coding is not for the squeamish as it becomes relatively difficult to control but it is what your instrcutor enjoys about coding, the ability to control different aspects of a probelm.
This is not going to be pretty, but here's the code for what's above. It's pretty complicated but it does what we need it to do. The diffference between this code and what's above is the inclusion of a table for the captions under each row of pictures. We use the array holdwidths to determine the width necessary for each picture in the line and apply that to the width for each cell of text.
There had to be some changes to the routine that determined the width of the pictures since info had to be passed to the text portion talked about above. Below, you will be happy to know is the last portion of code. This is a routine designated as testitlast and is a verfaition of the coding already indicated to you at the start of this tutorial
function doitlast(qq,rr,ss,aa)
        {
        var tt1 = "";

        for (var r=0;r<=5;r++)
            {
            tt1 += "<p id='" + rr + r.toString() + "'>";

            for (var r1=0;r1<=3;r1++)
                {
                var ttx = "nerc/nerc" + (r*4 + r1).toString() + ".jpg";
                var qqz = "";
                if (aa==1 && r==5 && r1==3){qqz = "onload=testitlast('" + rr + "','" + ss + "')";}
                tt1 += "<img " + qqz + "  style='width:24%;height:auto;padding-right:5px' src='" + ttx + "'>"

                }
            tt1 += "</p>"
            var tt2 = "<table><tr>"
            for (var r2=4*r;r2<4*(r+1);r2++)
                {
                tt2 += "<td id='" + ss + r2.toString() + "' style='width:auto;padding-right:5px'>" + desc[r2] + ""
                }
            tt2 += "</tr></table>"
            tt1 += tt2
            }

        var zz = document.getElementById("a2");
        zz.innerHTML = tt1
        if (ss)
            {
            var zzy = document.createTextNode(tt1);
            var zzx = document.getElementById("b2");
            zzx.appendChild(zzy);


            }
      }
With the new extensions to HTML, one also has the opportunity to set patterns. Below, you can see that the pictures have been set into a type of oval
The coding for this is as follows
function dospan()
        {
        var zz = document.getElementById("span");
        for (var r=0;r<24;r=r+2)
            {
            var zz1 = document.createElement("div");
            zz1.setAttribute("id","div" + r.toString());
            var zz2 = document.createElement("img");
            zz2.setAttribute("src","nerc/nerc" + r.toString() + ".jpg");
            zz2.style.width="25%";
             zz2.style.height="25%";
            zz2.style.paddingRight=(2.5*(10-(Math.abs(r-11)-1))).toString() + "%";
            zz2.style.paddingLeft = (2.5*(Math.abs(r-11)-1)).toString() + "%";
            var zz3 = document.createElement("img");
            zz3.setAttribute("src","nerc/nerc" + (r+1).toString() + ".jpg");
            zz3.style.width="25%";
            zz3.style.height="25%";
            zz3.style.paddingLeft=(2.5*(10-(Math.abs(r-11)-1))).toString() + "%";
            zz1.appendChild(zz2);
            zz1.appendChild(zz3);
            zz.appendChild(zz1);

            }
        }
Let's discuss the question of a carousal. A carousal is similar to a movie, except that you have still photos - generally called stills - and you are controlling the timing. Generally, there is a location where the stills will be put and there is a timer that controls the stills. You can see this in action with our 25 shots (including the one of Maria) by clicking the button to the left.
 In class, Maria Diaz asked about photos and so I brought in my camera and snapped some shots of our new center at Northeast regional. Hopefully, you feel like I do and appreciate the new features and space that this construction will provide. You also saw me take some pictures of our class and the one featuring Maria has been cropped and is at the left. I hope you like it, Maria!